

E-Commerce Photography: How to Shoot Products Like a Pro
Did you know that e-commerce brands like Zara, IKEA, Sephora, Uniqlo, and H&M give just as much attention to product photography as they do to website design, product quality, and brand reputation? That’s why their websites look so appealing, every image is bright, well-lit, and perfectly matches their brand style.
Here are a few more examples of brands known for excellent product photos:
Everlane (clothing retailer) – Uses clean, simple backgrounds and shows products from different angles (front, back, and close-up) so customers can clearly see every detail.
Warby Parker (eyewear brand) – Combines lifestyle photos and 360° views to show how products look and feel in everyday use.
Glossier (cosmetics and skincare company) – Highlights natural tones, soft lighting, and close-up shots that create a simple and authentic look.
Good product photos do more than just display what you sell, they shape how customers see your brand and influence their buying decisions. Clear, detailed images make your store look professional and trustworthy. High-quality product photography lets customers feel confident about what they’re buying and encourages them to make a purchase.
Contents
Different Ways to Photograph Products for E-Commerce
There are several ways to photograph products for e-commerce. You can use a clean white or light neutral background, show the product in use through lifestyle photography, capture close-up shots to highlight details, or create group photos to display sets or complementary items.
The main goal is to give customers a clear and complete view of the product. Showing multiple angles, features, how it can be used, and how it arrives in its packaging helps shoppers feel confident about what they are buying. Different styles of product photography can highlight these aspects in various ways.
1. Single Product Shots
Single product shots focus on one item in the frame.
- Use a plain background, usually white or light-colored, so the product is clearly visible.
- Show the complete shape and design of the item.
- Keep the product centered or slightly off-center depending on the composition you want.
Example: A silver chain photographed straight-on on a white background, showing the entire chain and details clearly.
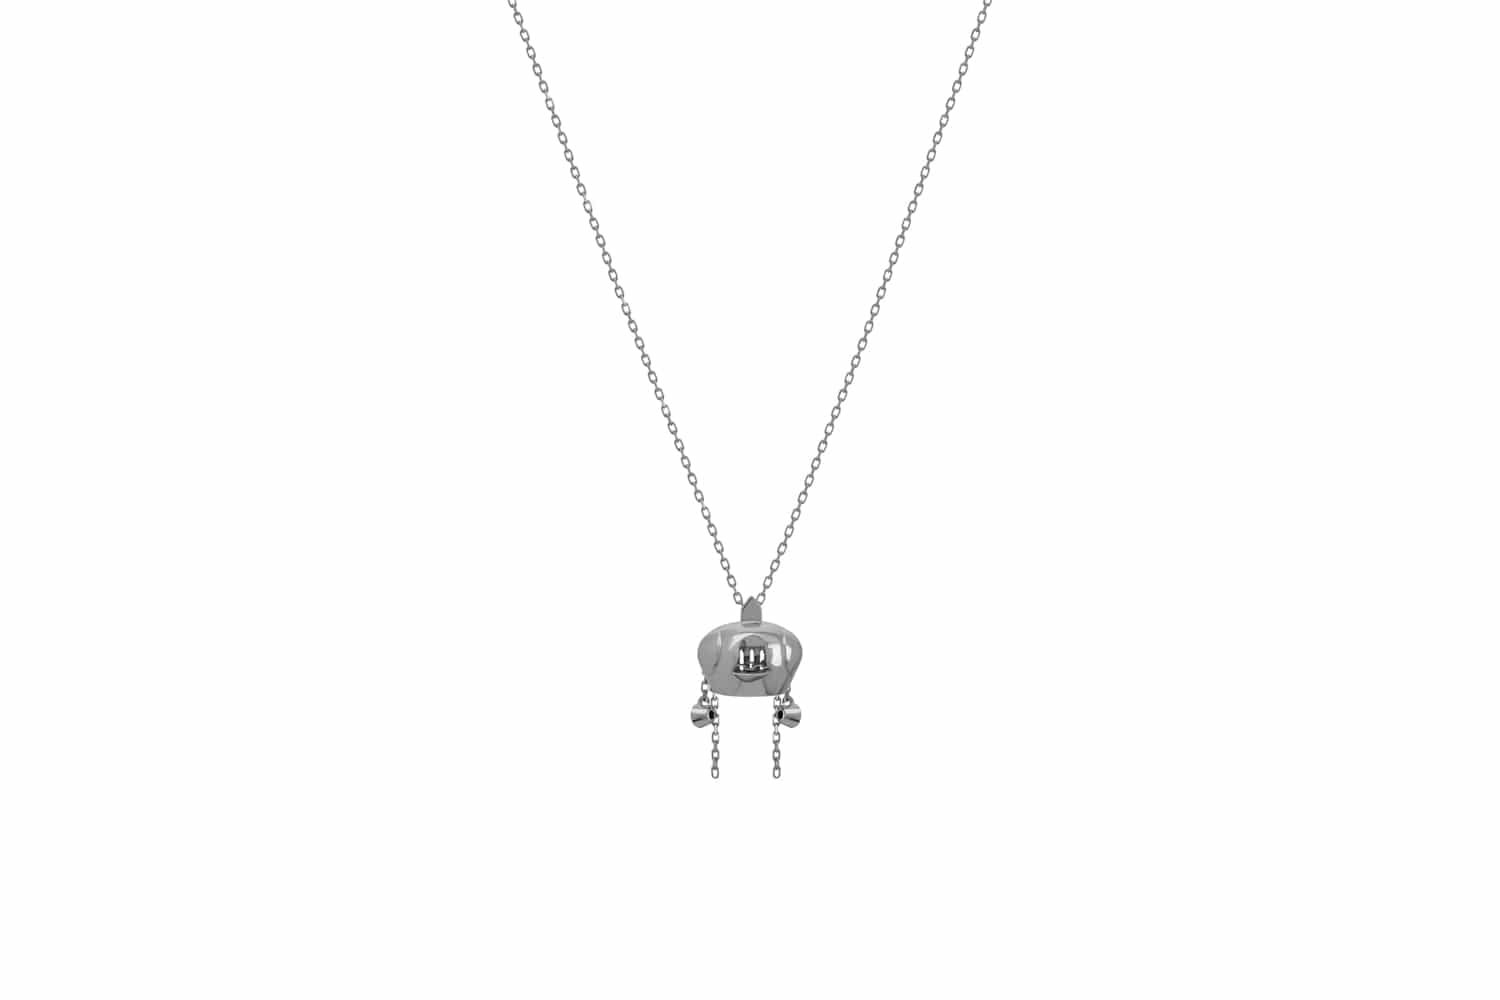
This type works for shoes, bags, jewelry, or anything that needs a clear view from top to bottom.
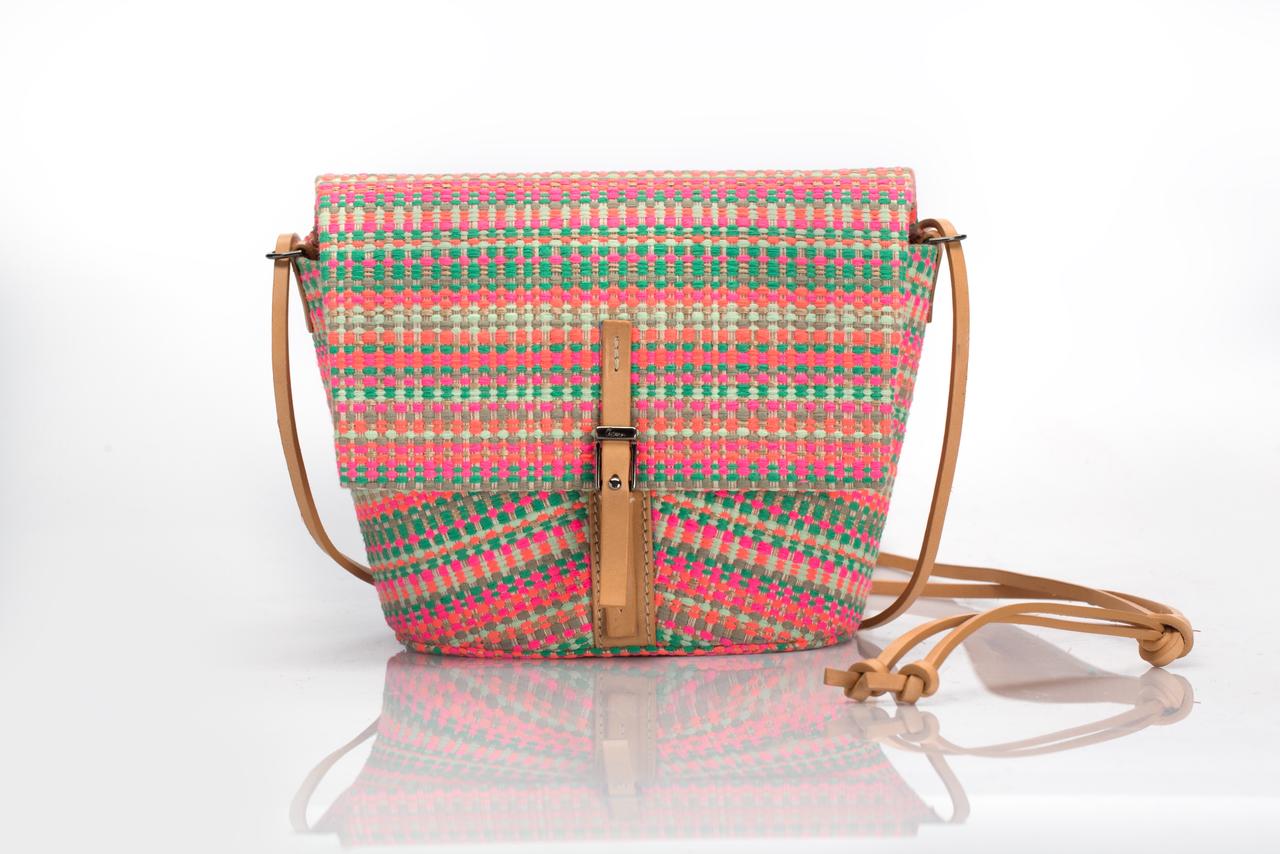
2. Lifestyle Photos
Lifestyle shots place the product in everyday settings.
- Show how it looks when someone uses it or wears it.
- Props can be included, but they should feel natural, not staged.
- The idea is to create a sense of life around the product, make the viewer picture it in their own space.
Example: A man back shot wearing a black bag, showing how the bag sits when carried.
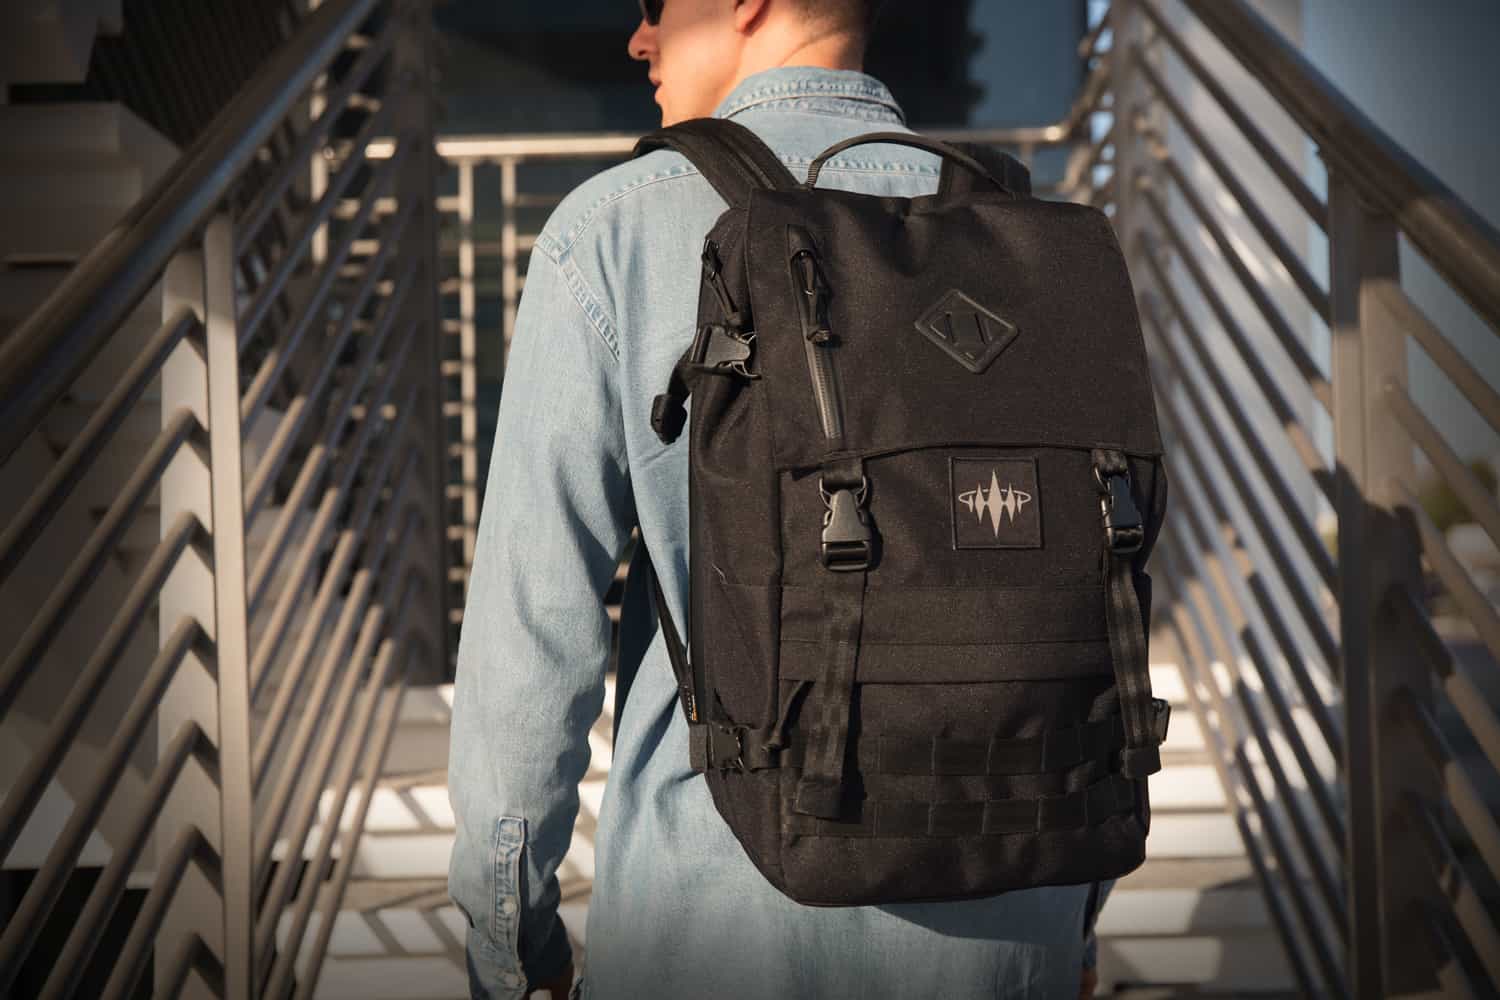
Lifestyle shots work well for bags, apparel, shoes, or accessories that benefit from being seen in context.
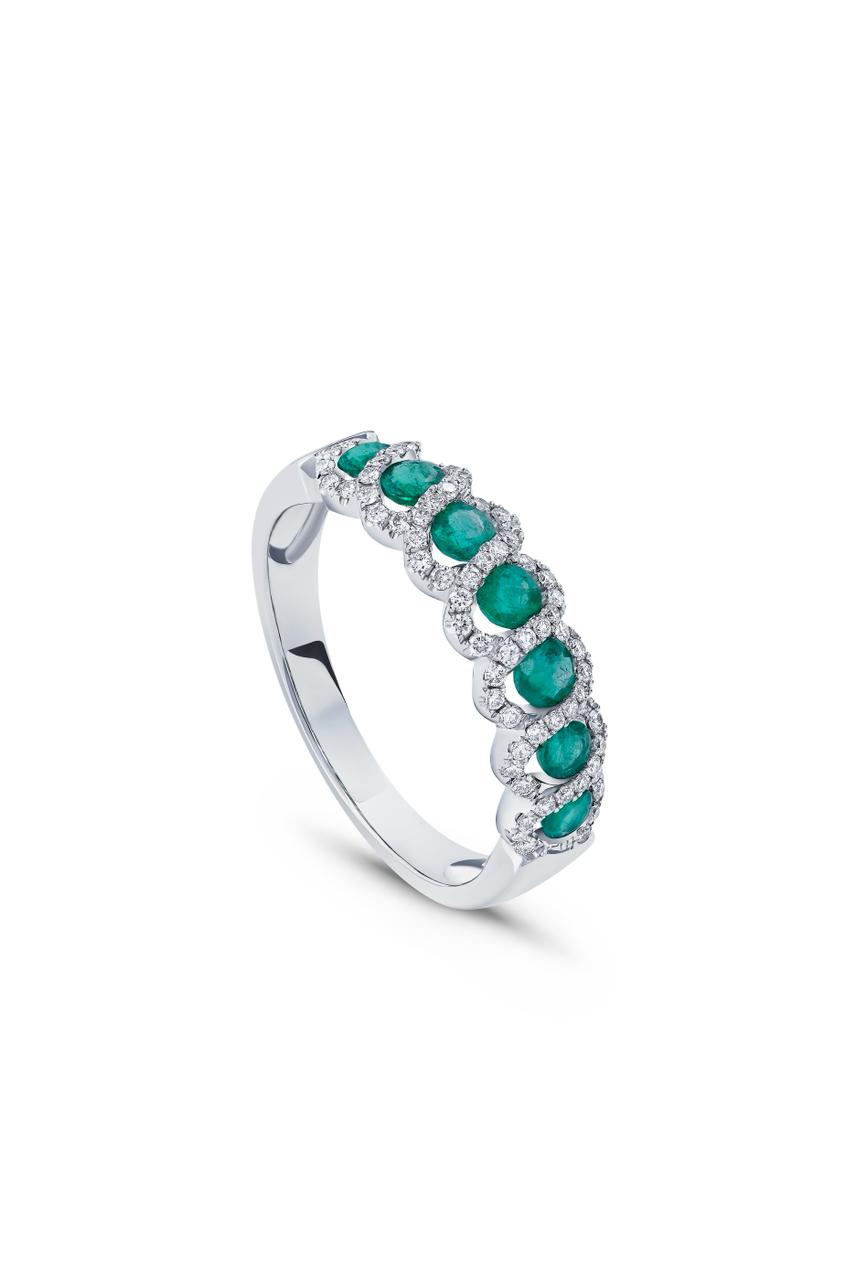
3. Close-Up or Detail Shots
Detail shots focus on the textures, patterns, or features that make the product unique.
- Bring the camera close to show stitching, material, or small design elements.
- A soft background blur can make the product more noticeable without distraction.
Example: A necklace with two earrings photographed from above to show small design details.
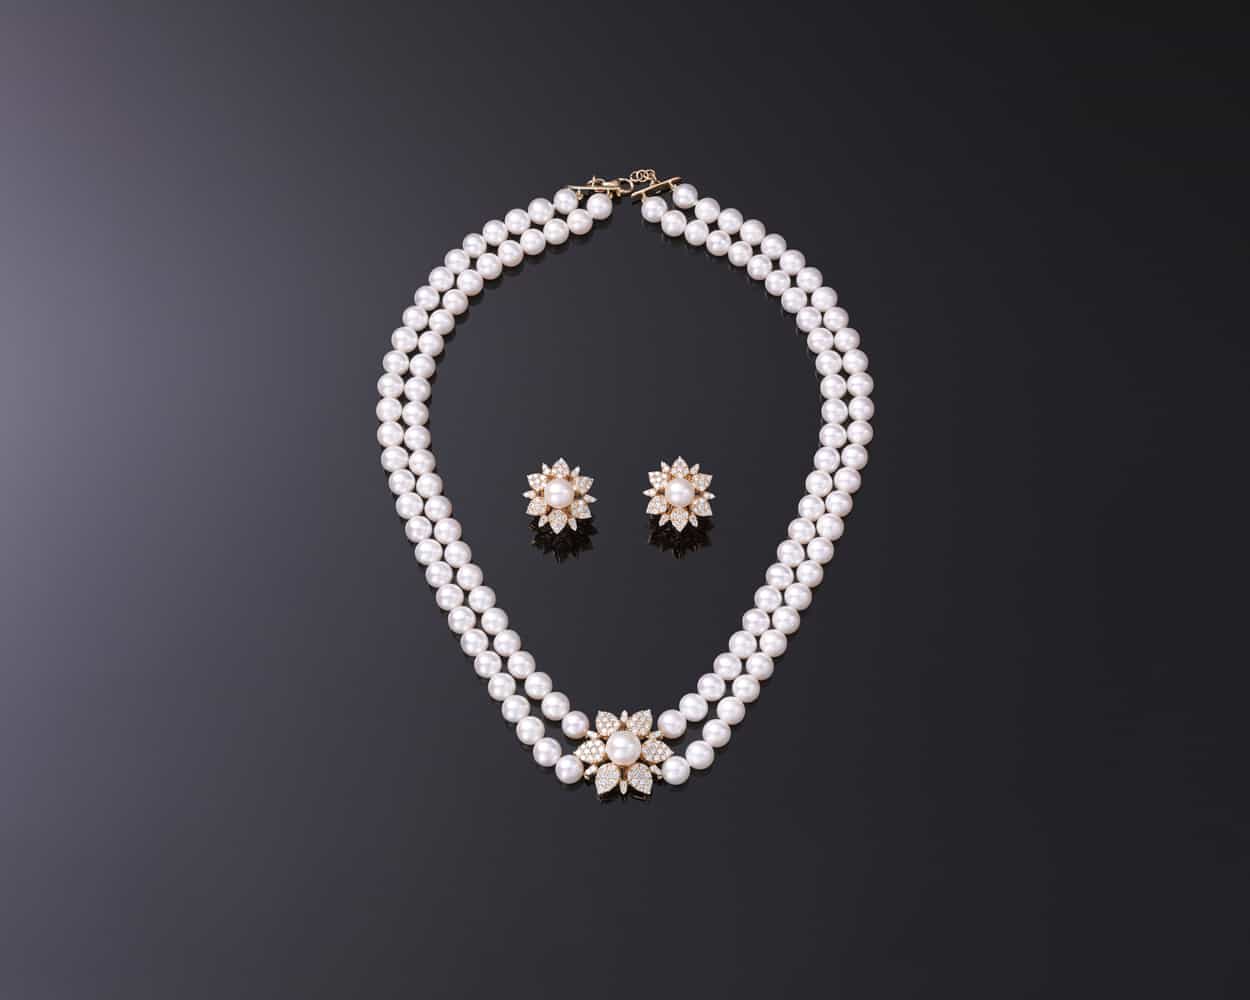
Detail shots let customers see the product clearly, helping them feel certain about what they’re buying.
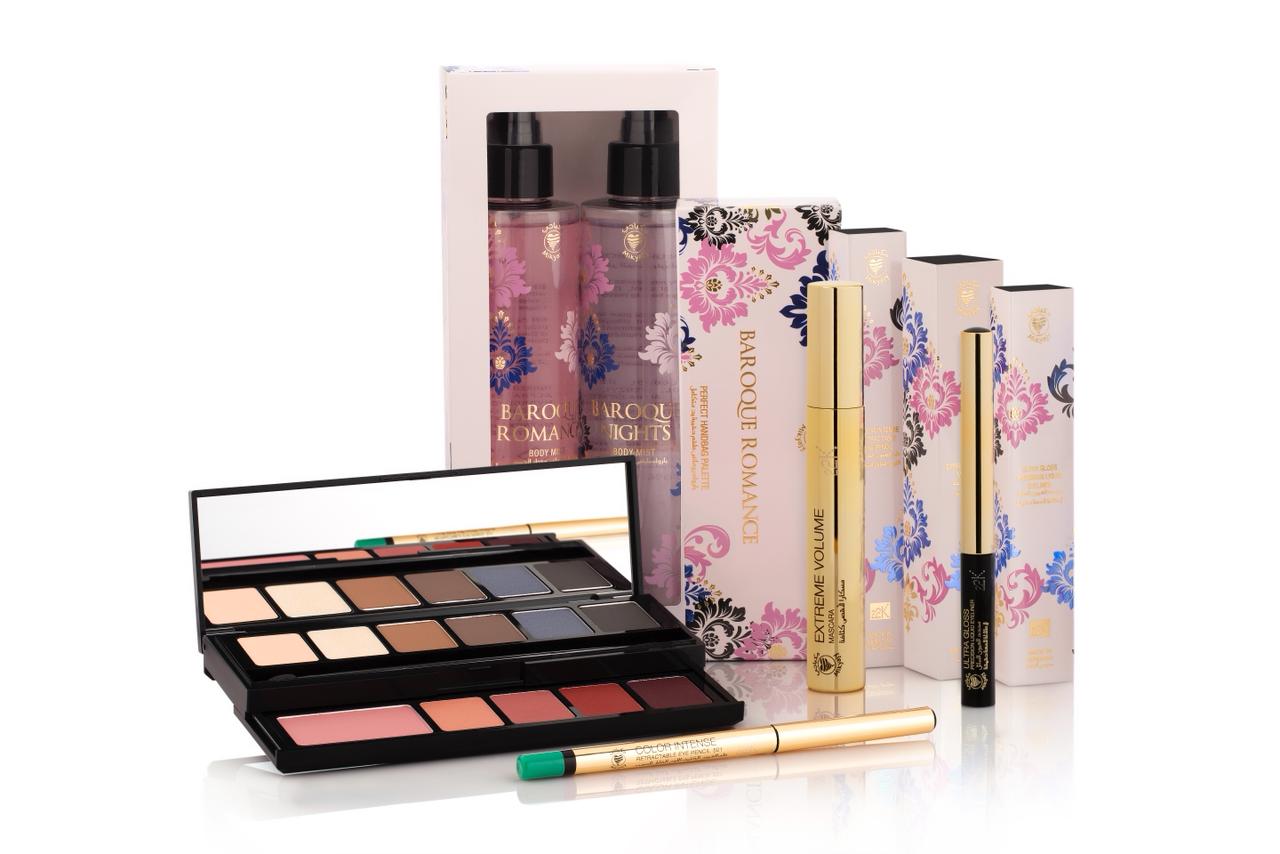
4. Group Photos
Group shots display multiple products together.
- Show a set, collection, or matching items in one frame.
- Arrange the products so that each one is visible, but the overall composition is balanced.
Example: A diamond jewelry set with necklace, earrings, ring, and bracelet/bangle displayed together.
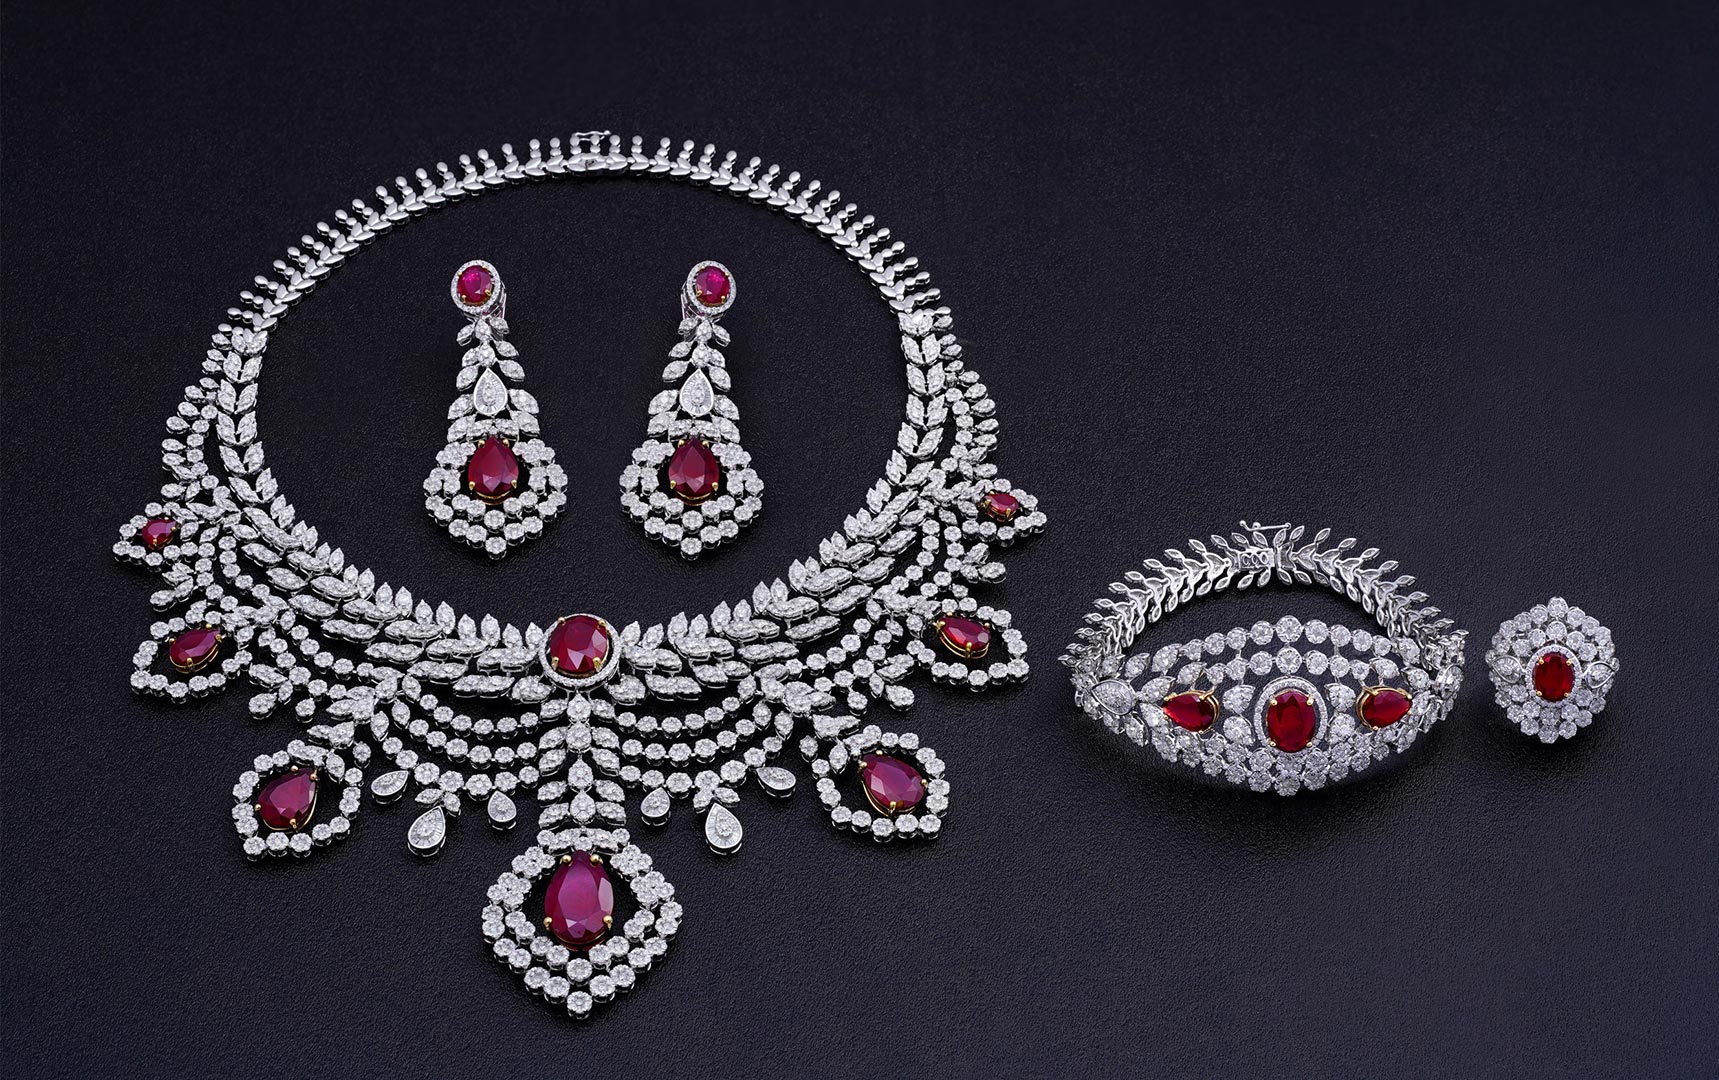
This method displays gift sets, product bundles, or collections where seeing all items together makes it easier for the customer to understand the full set.
5. Packaging Photos
Packaging photos show the product along with its box, bag, or wrapping.
- They highlight how the product will arrive to the customer, giving a sense of presentation and care.
- Good packaging shots make the product feel premium and show attention to detail.
- These photos are often used on e-commerce sites to let customers visualize what they will receive.
Example: An open black gourmet box filled with neatly arranged fruits, cheese, and snacks, photographed to clearly show both the packaging and the presentation inside.
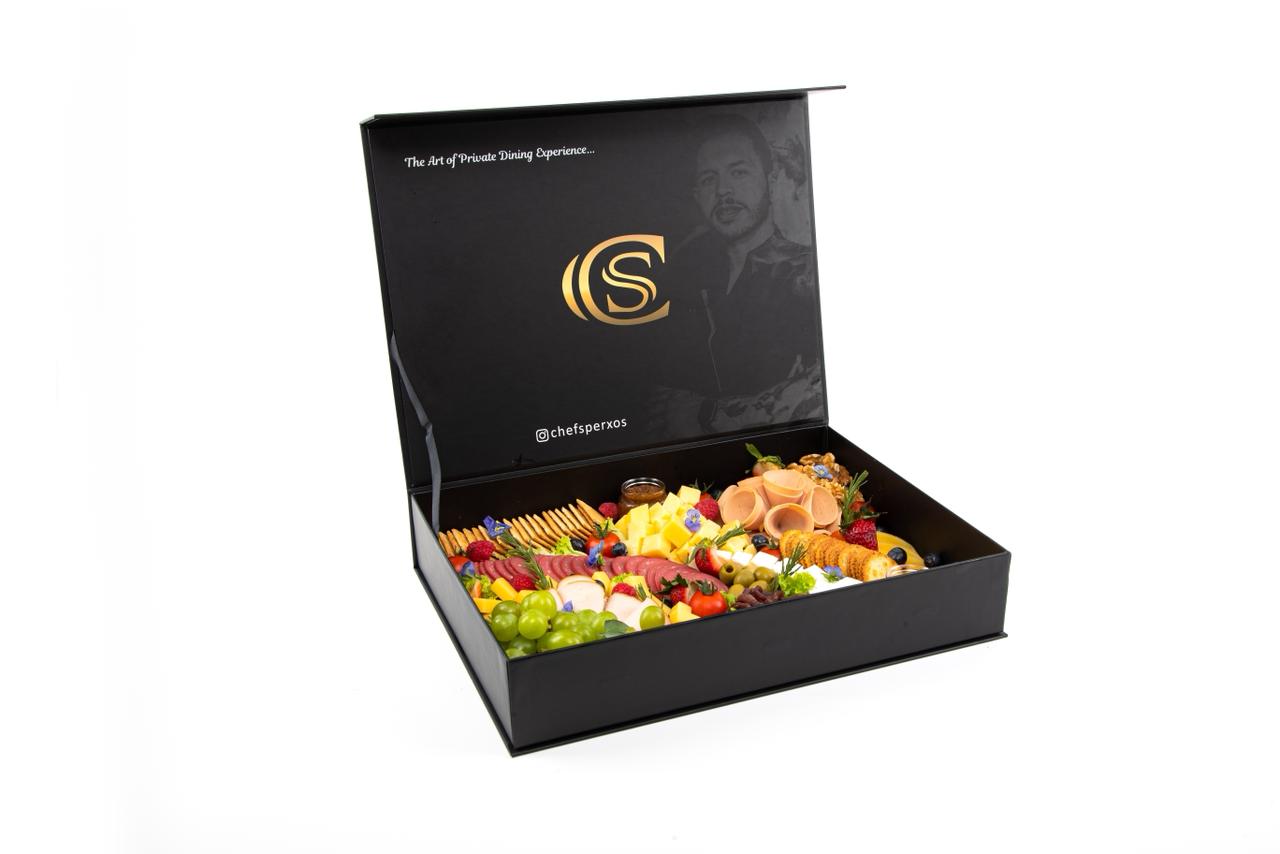
These photos are often used on e-commerce sites to let customers visualize what they will receive.
How to Shoot E-Commerce Photos That Attract Buyers
A good product photo can completely change how someone sees what you’re selling. When a picture is clear, bright, and nicely framed, it does more than just show the item, it gives customers a sense of trust and comfort when deciding to buy.
Every detail counts, the lighting, the background, and how the product is positioned. Together, these elements make your photos look clean and attractive, just the way customers expect when shopping online. Here are a few valuable e-commerce photography tips that can make your product photos more appealing and attract customer interest.
1. Keep the Background Simple and Clean
A plain background keeps all the attention on your product. Most online stores use white because it looks neat and puts all the focus on the product. You don’t need a fancy setup, a white chart paper or a clean wall works fine. Avoid colorful or busy backgrounds unless it really fits your brand style.
You can also create a soft curve behind the product using paper or board to remove hard lines and shadows.
Example: For jewelry, place it on a plain white surface with soft shadows. For darker products, try light gray or beige for better contrast.
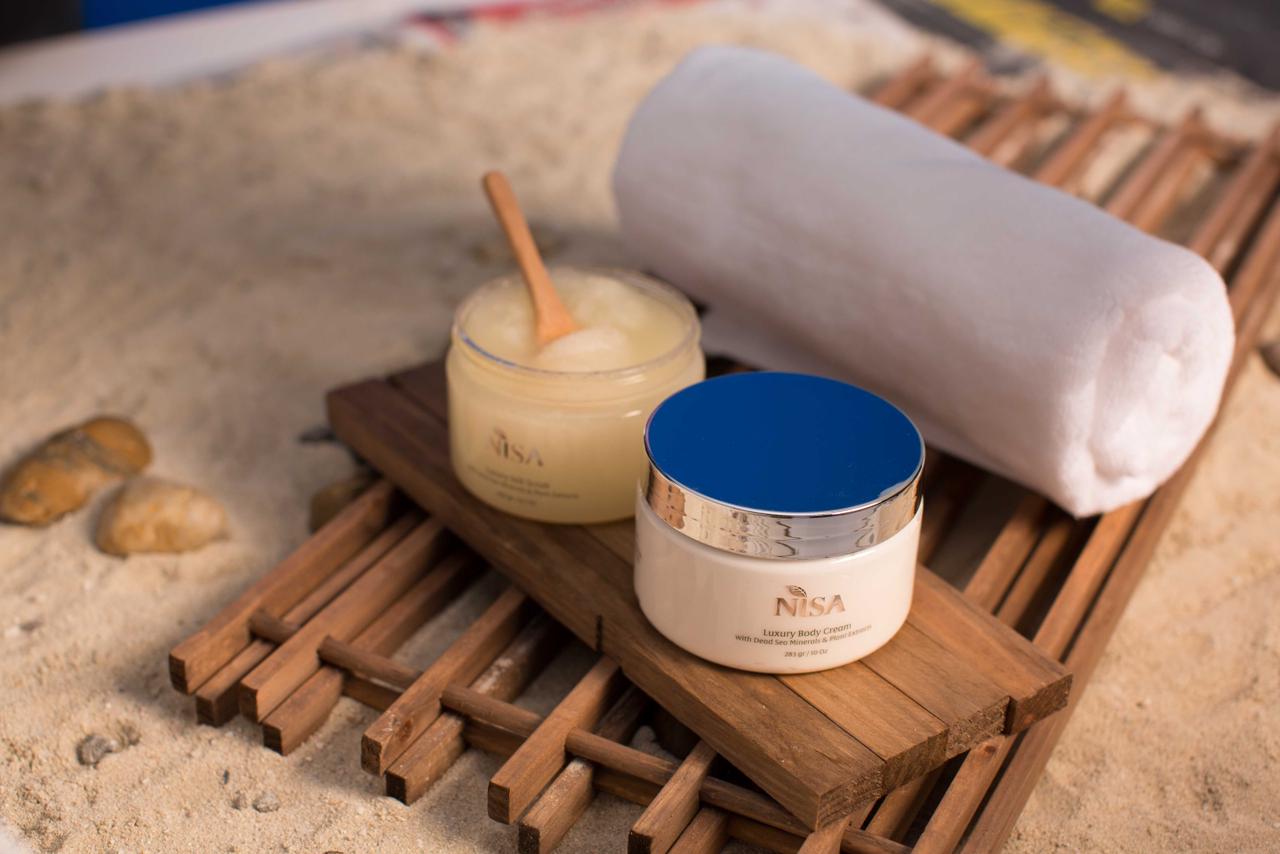
2. Proper Lighting Improves Your Product Photos
Good lighting makes your product look clear, vibrant, and true to color. Natural light is often the best choice because it gives your photos a realistic and balanced look. Try shooting near a window in the morning or late afternoon when the sunlight is soft.
If the light feels too harsh, place a thin white curtain or sheet of tissue paper between the window and your product to soften it. When shooting at night, use a small LED or ring light, and place a white surface or foil on the opposite side to reflect the light evenly and reduce shadows.
Example: For skincare products, let the light come from one side and use a white sheet on the other to keep the shadows light and soft.
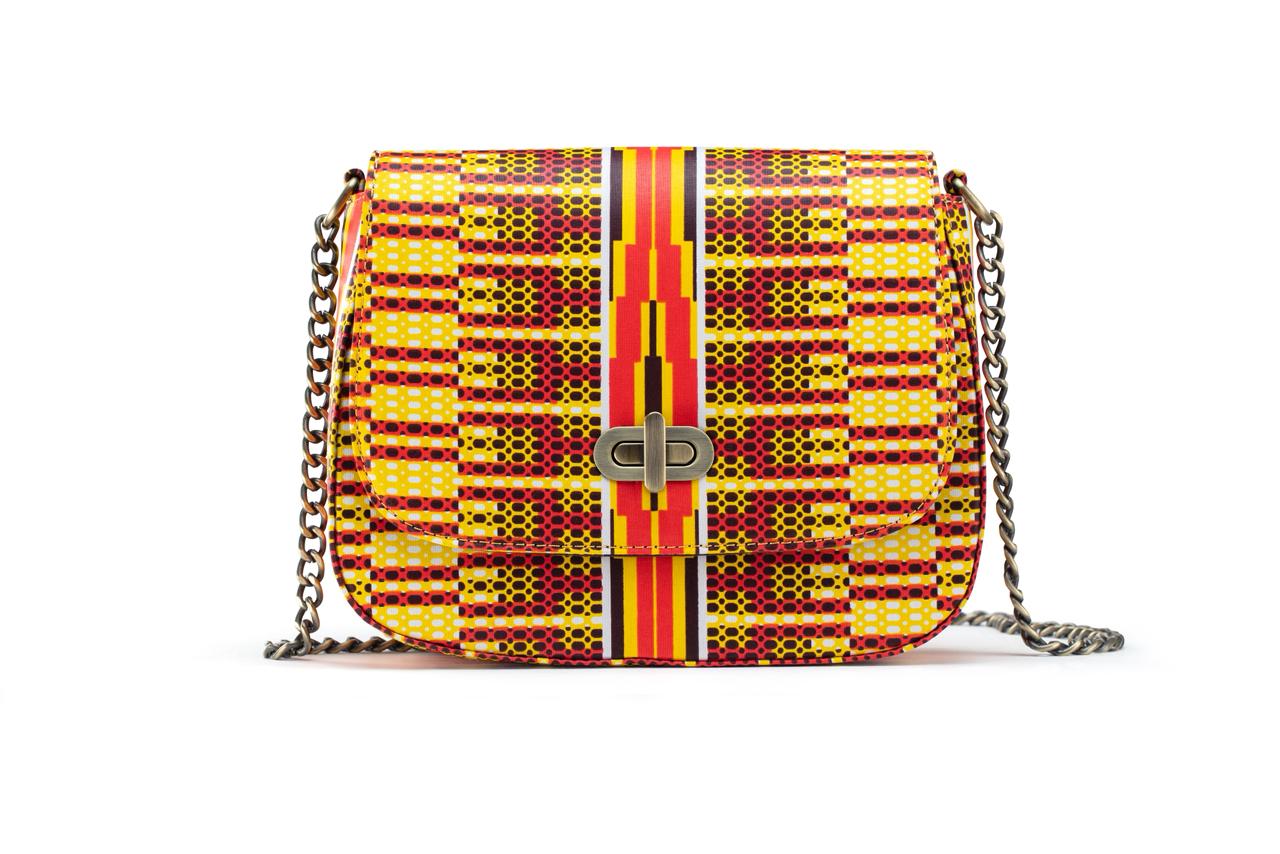
3. Show Your Product from Different Angles
Customers want to see exactly what they’re buying. Take photos from multiple angles, front, side, back, and include one or two close-ups that show small details like textures, buttons, or materials.
This allows customers to clearly understand the product and get a complete picture before they buy.
Example: When photographing a handbag, capture the full view, the straps, the inside, and a close-up of the texture or logo. This gives shoppers a realistic sense of how it looks and fits.

4. Capture the Small Details
Close-up photos are perfect for showing what makes your product special, like texture, design, or fine work. These small things give customers trust, make them feel confident about what they’re buying, and give your products a more genuine look.
Make sure your camera focuses properly on the main area of the product. A slightly blurred background can make the main object appear sharper and more natural.
Example: For handmade crafts, capture the stitching or surface finish. For gadgets, focus on the buttons, ports, or small design elements that show quality.
5. Use Props That Add Meaning
Props can make a photo look more natural and relatable, but don’t overdo it. They should simply support your product, not take attention away from it.
Pick props that make sense, like sunglasses beside a hat, a cup next to a book, or a candle with a few petals.
Example: If you’re shooting a candle, place a small matchbox or soft fabric beside it. It makes the picture warmer and easier to connect with.
6. Make Sure Photos Are Clear and Show Real Colors
Nothing turns buyers away faster than blurry images or colors that look different from the real product. Your photo should show the product exactly as it appears in person.
Use a tripod or place your phone on a stable surface to avoid shaky shots. Always clean your camera lens before taking pictures, even a small smudge can reduce clarity.
Before uploading, check how the color looks on different screens. You can make small adjustments to brightness or white balance if needed, but avoid heavy filters that change the actual color.
Example: If your product is bright yellow, make sure it doesn’t look dull or neon in the photo. Keep the color as close to real as possible.
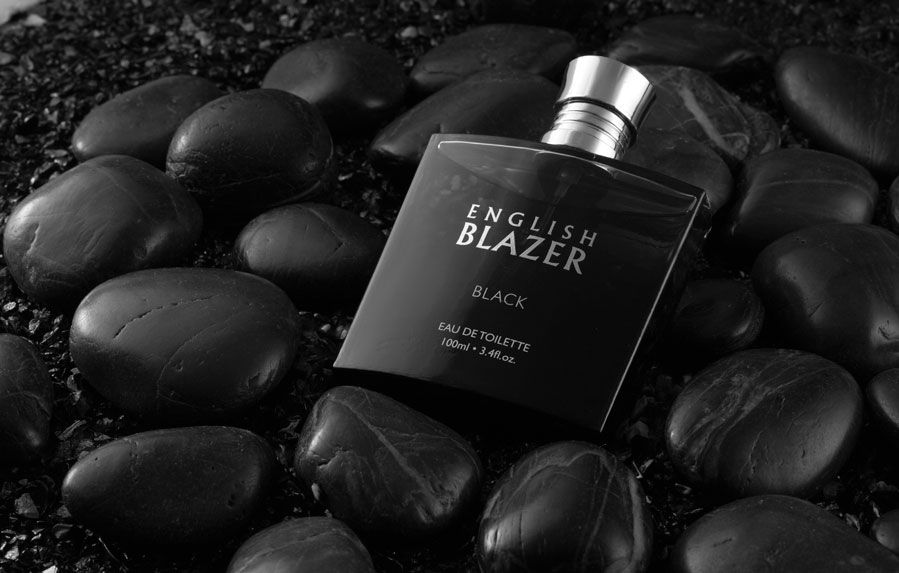
7. Frame Your Shot the Right Way
How you position your product in the frame can change how people see it. Try using the rule of thirds, imagine your image divided into three equal parts and place the product slightly off-center for a more natural look.
Or go for a centered shot if you want a neat, balanced style.
Example: For lifestyle photos like food or decor, off-center looks creative. For items like perfumes or watches, centered shots look clean and elegant.
8. You Don’t Need Fancy Equipment
You don’t need an expensive camera to take impressive product photos. Most smartphones can produce excellent results when you use good lighting and keep your shots steady.
Try using portrait or pro mode to adjust focus, brightness, and exposure. Take multiple shots, even small changes in angle or light can make your final image look much better.
Example: Stack books or boxes to keep your phone stable and shoot at the right height. With a bit of planning and practice, a simple setup can create clean, professional-looking photos.

How Should You Edit Product Photos for E-Commerce?
Editing product photos is just as important as taking them. Proper edits make your images clear, accurate, and appealing to customers.
Lighting: Keep it even so colors and details appear natural. Avoid harsh shadows or overly bright areas.
- Crop and Resize: Frame the product clearly and make sure the image fits the platform.
- Color Correction: Make subtle adjustments to brightness, contrast, or saturation without changing the true look of the product.
- Sharpen and Blur: Bring out important details while softening the background to keep attention on the product.
- Same Style: Use a similar style for all images to give your store a professional and polished appearance.
Over-editing can make images appear unrealistic or hide important details. The purpose is to present the product clearly and accurately.
Professional E-Commerce Photography with Wise Monkeys
Since 2011, Wise Monkeys Productions provides photography and videography services for brands and individuals.
Our services cover E-Commerce Photography services that present your products clearly, accurately, and attractively online. Having a team of E-Commerce Photography experts, we developed a full process covering planning, shooting, and editing to create high-quality images that represent each product exactly as it is.
Our e-commerce photography services include single product shots, lifestyle images, close-ups, group displays, and packaging photos. By presenting products with clarity and attention to detail, brands can engage customers, highlight product features, and encourage confident purchasing decisions.
To book our services, call us at +971 54 236 0570 or email us at info@wisemonkeys.ae.

